
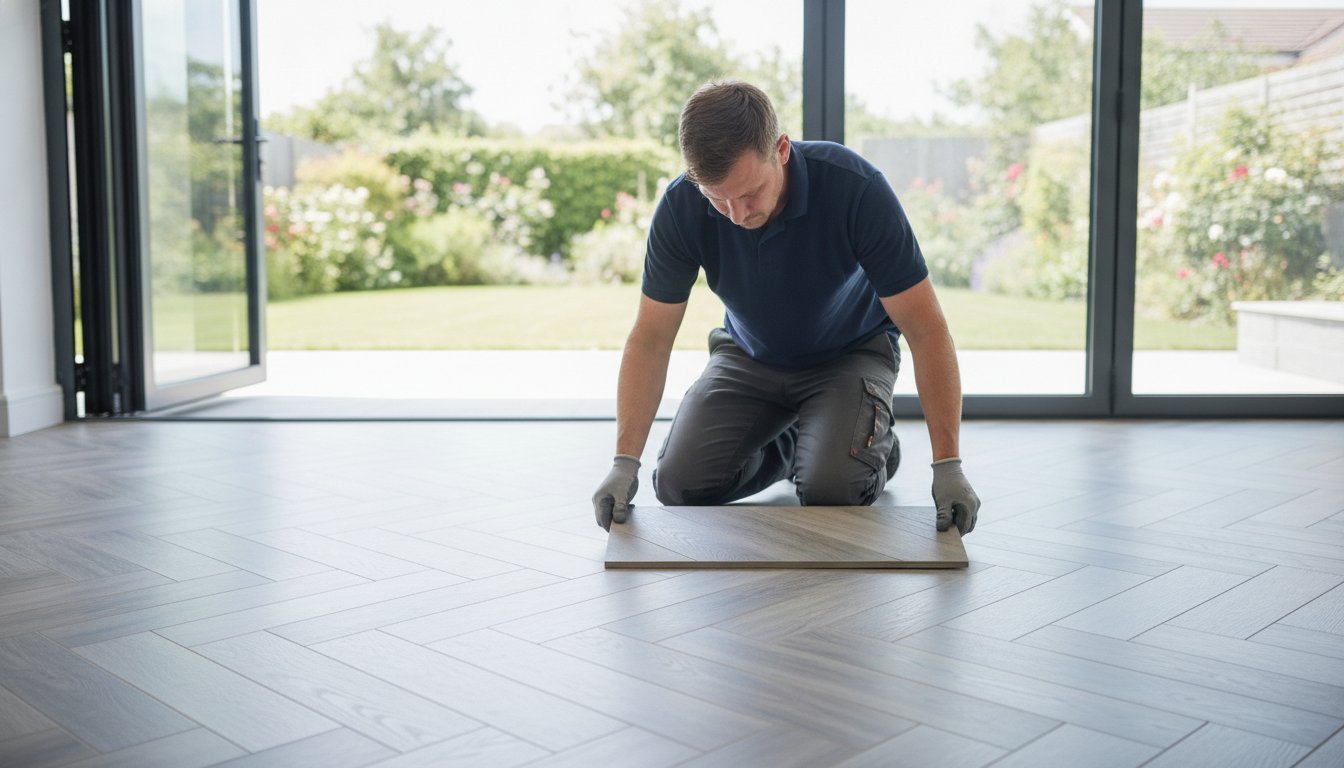
Why do some luxury floors look like a million pounds after a decade, whilst others start to peel and bounce within months? It's a question that keeps many homeowners awake, especially when you've invested your hard-earned money in premium materials like Amtico or Karndean. We understand that the fear of wasting money on a sub-par finish is real. You want a floor that doesn't just look beautiful on day one but remains a durable asset to your home for years to come. Recognising the signs of a quality LVT installation is the first step toward achieving that peace of mind.
In this guide, we'll reveal the seven critical pitfalls that can ruin your project and explain how our professional Rayleigh fitters ensure a perfect, long-lasting result. We believe that a luxury floor is 80% preparation and 20% laying; most failures are invisible issues that start weeks before the first plank is even touched. You'll learn why foundational groundwork is the secret to a floor that doesn't gap or lift. By the end, you'll have the confidence to distinguish between a DIY standard and a true masterclass in flooring, ensuring your home gets the finish it deserves.
Key Takeaways
- Learn why foundational preparation is the most important "invisible work" required to prevent telegraphing and adhesive failure.
- Understand the 48-hour acclimatisation rule to protect your flooring against local Rayleigh weather patterns and temperature shifts.
- Discover how to identify the signs of a quality LVT installation by checking for correct expansion gaps and professional plank staggering.
- Avoid post-installation disasters by following the correct protocols for underfloor heating and selecting the right underlay for your home.
- See how our "Showroom to You" service allows you to view premium LVT samples in your own home's natural light before making a decision.
The Foundation of Failure: Why Subfloor Preparation is Non-Negotiable
In our industry, we define LVT installation failure as the visible result of telegraphing or adhesive breakdown caused by poor preparation. Whilst the surface might look stunning on the day it's finished, the real success of the project happens long before the first plank is even unboxed. We call this our "Invisible Work" philosophy. Subfloor integrity isn't just a recommendation; it's the absolute requirement for a high-quality finished product that stands the test of time and adds genuine value to your home.
Signs of neglect often manifest as clicking sounds when you walk across the room or a slight "bounce" underfoot. In many older Rayleigh properties, we find that subfloors have shifted due to the local clay soil, creating uneven patches that a DIYer might overlook. Visible indentations where the texture of the floor underneath starts to show through the vinyl are also classic red flags. Our professional fitters always begin with a thorough assessment of the room's structural base before recommending specific Luxury vinyl tile (LVT) materials. This meticulous approach ensures that the signs of a quality LVT installation are built into the very foundation of your room.
Moisture Testing: The Silent Killer of LVT Adhesives
Damp subfloors are the primary reason why glue-down LVT begins to lift and curl at the edges, as trapped moisture compromises the chemical bond of the adhesive. During professional Essex installations, we use calibrated hygrometer tests to check Relative Humidity levels within the concrete or screed. Relative Humidity is the measure of water vapour present in the subfloor compared to the maximum amount it can hold at a specific temperature. If the reading exceeds 75% RH, we won't proceed without a damp proof membrane. Skipping this step is a recipe for disaster that can lead to expensive repairs just a few months down the line.
Screeding and Plyboarding for a Level Surface
Achieving a flawless finish requires different approaches depending on what lies beneath your feet. For concrete bases, we apply a high-quality smoothing compound or screed to eliminate pits, ridges, and minor imperfections. On timber floors, we install 6mm flooring-grade plywood to create a stable, uniform surface that prevents the LVT from moving. It's vital to understand that "flat" is not the same as "level." A floor can be flat but still slope, whilst a level floor must be perfectly horizontal. LVT requires both to prevent joint stress and ensure the planks sit perfectly flush. Investing in proper subfloor preparation is the only way to guarantee a premium finish that looks as good in ten years as it does on the day of installation.
Acclimatisation and Environmental Errors Before You Start
We often describe LVT as a living product because it's remarkably sensitive to its surroundings. In Rayleigh, where our weather patterns can shift from damp coastal mornings to bright, warm afternoons, the material needs time to settle into its new environment. One of the most telling signs of a quality LVT installation is a floor that remains perfectly flat without gapping or buckling weeks after the fitters have finished. This long-term stability is only possible if the acclimatisation process is respected.
The 48-hour rule is our golden standard. Leaving boxes of flooring in a cold garage or a van overnight is a recipe for disaster. When cold vinyl is brought into a warm living room and immediately fitted, it will inevitably expand as it reaches the ambient room temperature. This expansion leads to "peaking" at the joints, where the planks push against each other and lift. Conversely, if the material is too warm when laid, it may shrink as the room cools, leaving unsightly gaps between the tiles. Temperature fluctuations during the actual installation are just as dangerous, as they prevent the adhesive from setting at a consistent rate.
Thermal shock is another critical factor, particularly in South-facing Essex conservatories or rooms with large bi-fold patio doors. Direct sunlight can cause the surface temperature of the tiles to soar far beyond the room's air temperature. Without professional consideration for expansion gaps and the use of high-temperature adhesives, the floor can delaminate or warp under the heat. We always assess the light levels of a room to ensure the right products are selected for these high-exposure areas.
Storing Your LVT Correctly On-Site
Planks must always be stored flat in small, neat stacks. We never lean boxes on their ends, as this can cause permanent warping before the job even begins. It's vital to maintain a consistent room temperature between 18°C and 22°C during the entire waiting period. Coastal Essex humidity levels can also impact the process, particularly with certain pressure-sensitive adhesives that require a stable environment to cure correctly and create a permanent bond.
Measuring and Wastage Miscalculations
Accurate ordering is just as important as the technical fitting. We follow the industry standard of 10% wastage for straight-lay patterns, though herringbone designs require significantly more to account for complex perimeter cuts. Falling into the batch number trap is another frequent error for DIYers. If you run out of tiles mid-job, packs from a different production batch often have slight colour variances that become glaringly obvious in natural light. Our showroom to you service eliminates this risk by providing precise on-site measurements and ensuring every tile comes from a single, consistent batch for a flawless finish.
Technical Laying Mistakes: Expansion Gaps and Staggering
Once the subfloor is prepared and the materials are acclimatised, the physical act of laying the tiles begins. This stage is where technical precision separates a master craftsman from an amateur. One of the most visible signs of a quality LVT installation is how the floor interacts with the fixed points of your home, such as walls, door frames, and kitchen islands. If these details are overlooked, even the most expensive Amtico or Karndean tiles will eventually fail.
We often see issues arising from poor adhesive selection. Many all-purpose glues simply aren't designed to handle the specific plasticisers found in high-end vinyl. Using the wrong adhesive can lead to a chemical reaction that causes the tiles to shift or the bond to crystallise and snap. Similarly, transition strips at room joins are frequently treated as an afterthought. A professional fitter ensures these are flush and secure, eliminating trip hazards and preventing unsightly gaps where different flooring types meet. These small details ensure the floor feels like a permanent part of the architecture rather than a temporary covering.
The Critical Expansion Gap Requirement
Every LVT floor needs room to breathe around the entire perimeter. We maintain a consistent 5mm to 8mm expansion gap, which is eventually hidden under skirting boards or decorative scotia. This gap is essential because LVT expands as the room warms up. Without it, the floor has nowhere to go and will eventually lift in the centre, a phenomenon known as the "tenting" effect. Whilst click-system LVT is a floating floor and requires this gap to move as a single unit, glue-down systems also need perimeter relief to prevent individual tiles from peaking against the wall. Our fitters use dedicated spacers to ensure this gap remains uniform across large open-plan Essex kitchens, providing a safety net against seasonal temperature shifts.
Mastering the Staggered Pattern
The way planks are staggered determines both the structural integrity and the aesthetic realism of the floor. We strictly avoid the "H-joint" mistake, where the end joints of planks in every other row line up perfectly. This creates a ladder-like effect that looks artificial and creates a weak point in the floor's layout. Instead, we follow the rule of thirds, ensuring that joints are offset by at least a third of the plank length. In Rayleigh homes, we always identify the primary focal point, such as a large window or fireplace, to dictate the starting line of the installation. This ensures the pattern flows naturally with the room's proportions. It's also worth noting that Amtico and Karndean often require specific staggering patterns to maintain their manufacturer warranties, a detail we handle with meticulous care.

Underfloor Heating and Post-Install Pitfalls
The work doesn't stop once the last tile is laid. In fact, the way you treat your floor in the first week is just as important as the fitting itself. One of the clearest signs of a quality LVT installation is how well the floor responds to its first few cycles of heating and cleaning. If the adhesive is compromised during this delicate curing phase, you'll see the results in lifting tiles or warped planks within months. We take pride in guiding our clients through this transition to ensure their investment remains flawless.
One of the most common mistakes we see is the "Too Hot, Too Soon" error. Homeowners are often excited to feel the warmth under their feet, but turning on underfloor heating (UFH) immediately after fitting is a disaster. It essentially "cooks" the adhesive before it has had a chance to cure, leading to a permanent bond failure. Similarly, using an incompatible underlay is a frequent pitfall. If the underlay has a high-tog rating, it traps too much heat beneath the vinyl. This thermal build-up can cause the material to delaminate or warp, as the heat has nowhere to escape.
Cleaning is another area where things often go wrong. Soaking a fresh LVT floor with a wet mop can allow water to seep into the joints and compromise the bond of the fresh adhesive. We also recommend using felt pads on all furniture legs. Without them, the heavy pressure points of sofas and dining tables can leave permanent indentations on your brand-new surface. These small precautions make the difference between a floor that lasts five years and one that lasts twenty-five.
LVT and Underfloor Heating (UFH) Compatibility
Most manufacturers strictly enforce a 27°C surface temperature limit. If your floor exceeds this threshold, you risk voiding your warranty and damaging the structural integrity of the planks. We follow a strict 5-day rule: the heating must stay off for at least 48 hours after installation, and then be increased in gradual increments of 1°C or 2°C per day. Professional installers in Rayleigh always verify that UFH sensors are positioned correctly before laying the floor to prevent hotspots that could ruin the finish. To ensure your heating system and flooring work in perfect harmony, book an expert subfloor assessment with our team.
The First 72 Hours: Protecting Your Investment
Keep heavy furniture off the floor whilst the adhesive fully cures. Moving a heavy wardrobe or sideboard too early can cause the tiles to shift or slide, ruining the perfect alignment achieved during the fitting process. When it comes to cleaning, avoid harsh chemicals or bleach that might strip the factory wear layer or damage the finish. If you notice "adhesive bleed"-tiny beads of glue appearing at the joints-don't try to scrape it off yourself. This is a natural part of the curing process for some high-bond adhesives and should always be handled by a professional fitter using the correct pH-neutral cleaning agents.
Why Rayleigh Homeowners Trust GW Flooring for LVT
Choosing a new floor is a significant investment in your home's future. We've spent over 20 years navigating the unique architectural styles and subfloor challenges found across Rayleigh and the wider Essex area. This extensive tenure means we don't just lay planks; we understand the structural nuances of local properties. Whether you live in a characterful older cottage or a modern development, we bring a seasoned, meticulous eye to every project. We take genuine pride in our craft, ensuring that the signs of a quality LVT installation are present in every corner of your room.
Our philosophy centres on the "invisible work" that national chains often skip to save time. Whilst a faceless corporate fitter might rush straight to the surface, we prioritise the foundational groundwork that guarantees longevity. We believe that integrity matters more than shortcuts. As a family-run business, we offer a level of personal accountability that you won't find elsewhere. From the first measure to the final trim, you're dealing with experts who treat your home with the same care and discipline as their own.
One of our most popular features is the "Showroom to You" advantage. Instead of trying to guess how a small sample might look under harsh warehouse lighting, we bring our premium collections directly to your doorstep. Seeing LVT samples in your own home's natural light alongside your existing furniture is the only way to truly realise your design vision. It eliminates the guesswork and ensures you're completely confident in your selection before any work begins.
Local Expertise Across Essex
Our team is constantly active across the county, with recent successful projects in Rayleigh, Basildon, and Chelmsford. This local presence gives us a distinct advantage when it comes to technical preparation. For example, we know exactly how the heavy clay soil in certain parts of Essex can lead to subfloor movement over time. This insight allows us to choose the specific screed or smoothing compound that will provide the most stable base for your new floor. We invite you to book your complimentary home assessment today to see how this local knowledge can benefit your project.
A Seamless Selection Process
We've designed our service to be as frictionless as possible. We organise every stage of the journey, so you don't have to worry about managing multiple contractors or coordinating deliveries. Having a single point of contact for both the supply of premium tiles and the professional fitting creates a sense of security and simplicity. Our goal is to provide a beautiful, durable floor that adds genuine value to your property. For more detailed insights into our methods, you can read our full guide on LVT flooring installation. We are here to help you transform your living space into something truly exceptional.
Secure Your Perfect Flooring Transformation
Investing in a new floor is about more than just picking a beautiful pattern. It's about ensuring the technical groundwork is handled with the precision your home deserves. From the essential 48-hour acclimatisation period to the meticulous "invisible work" of subfloor preparation, these steps are what prevent common failures like lifting or gapping. When you recognise the signs of a quality LVT installation, you can move forward with the peace of mind that your investment is protected for decades to come.
We bring over 20 years of Essex flooring expertise to every project, specialising in the complex technical demands of Amtico and Karndean. As a family-run Rayleigh business, we take personal pride in delivering a frictionless experience from the first measure to the final trim. We don't just supply tiles; we help you realise a specific design vision that adds lasting value to your living space. Our seasoned craftsmen value integrity over shortcuts, ensuring every joint and expansion gap is perfect.
Book your free Showroom to You home visit in Rayleigh today and let us handle the technical details whilst you enjoy the creative transformation. We look forward to helping you create a durable, beautiful floor that you can be truly proud of.
Frequently Asked Questions
Can I lay LVT over my existing floor tiles?
We generally advise against laying LVT directly over existing tiles because the grout lines often "telegraph" through to the surface over time. For a professional finish, we either remove the old tiles or apply a specialised smoothing compound to create a perfectly flat base. This ensures your new floor remains level and prevents the structural integrity of the vinyl from being compromised by the uneven surface beneath.
How long does LVT need to acclimatise in an Essex home?
LVT requires a minimum of 48 hours to acclimatise to the specific temperature and humidity of your living space. You should store the boxes flat in the room where they'll be installed, keeping the temperature between 18°C and 22°C. Rushing this step is a common mistake that leads to gapping or buckling, as the planks haven't had time to reach their natural state in your local environment.
Why is my LVT floor gapping at the ends?
Gapping usually occurs when the floor wasn't properly acclimatised or if the room experiences extreme temperature shifts. If the planks were cold when laid, they'll shrink as they settle, leaving unsightly spaces at the joints. This is one of the key signs of a quality LVT installation being missed, as a professional fitter would have ensured the material and environment were perfectly balanced before starting.
Is underlay necessary for all types of LVT flooring?
Underlay is not required for glue-down systems like Amtico or Karndean, but it is often essential for click-system LVT. Many modern rigid core products actually come with an acoustic underlay pre-attached to the base of the plank. We always assess your specific subfloor type to determine if additional acoustic or thermal insulation is needed to meet British Standards and ensure a comfortable, quiet walk.
What is the best way to clean LVT after it has been installed?
Use a pH-neutral floor cleaner and a well-wrung damp mop to maintain your floor's factory finish. You should avoid using steam mops or harsh household detergents, as these can damage the protective wear layer and dull the surface over time. Regular sweeping with a soft-bristled brush will prevent grit from scratching the vinyl, keeping your floor looking brand new for years to come.
Can I use LVT in a bathroom with underfloor heating?
Yes, LVT is perfectly suited for bathrooms with underfloor heating, provided you use the correct high-temperature adhesive. The waterproof nature of the tiles makes them an ideal choice for wet areas. We ensure the subfloor is moisture-tested and that the heating system is calibrated to stay within the manufacturer's 27°C limit to prevent any risk of delamination or warping under the heat.
How much wastage should I allow when ordering LVT for a herringbone pattern?
You should allow for approximately 15% wastage when ordering LVT for a herringbone pattern. This is higher than the standard 10% used for straight-lay designs because of the complex cuts required at the perimeters and corners. Our Rayleigh fitters calculate these requirements precisely during your home visit to ensure you have enough material to complete the pattern without facing colour-match issues from different batches.
What happens if I do not leave an expansion gap for my LVT?
Failing to leave an expansion gap will cause your floor to "tent" or buckle as it naturally expands with heat. Without this 5mm to 8mm space around the perimeter, the planks have nowhere to move and will push against the walls, forcing the centre of the floor to lift. We use professional spacers during every installation to ensure this gap is consistent and hidden neatly under your skirting boards or scotia.


