The most expensive luxury vinyl tiles in the world won't save a floor if the foundation is flawed. We've seen many homeowners invest in premium materials only to be let down by wonky patterns or gaps that appear just months after the fitters have left. It's a frustrating experience, especially when you've chosen a complex pattern to elevate your home's aesthetic and value.
We understand that you want more than just a new surface; you want the peace of mind that comes from a symmetrical, luxury finish that handles high foot traffic without a hitch. You're likely wondering if subfloor screeding is truly necessary or how to ensure those intricate joins stay perfectly aligned. This guide shares the exact professional process we use for every herringbone LVT installation Essex project to achieve a durable, flawless result.
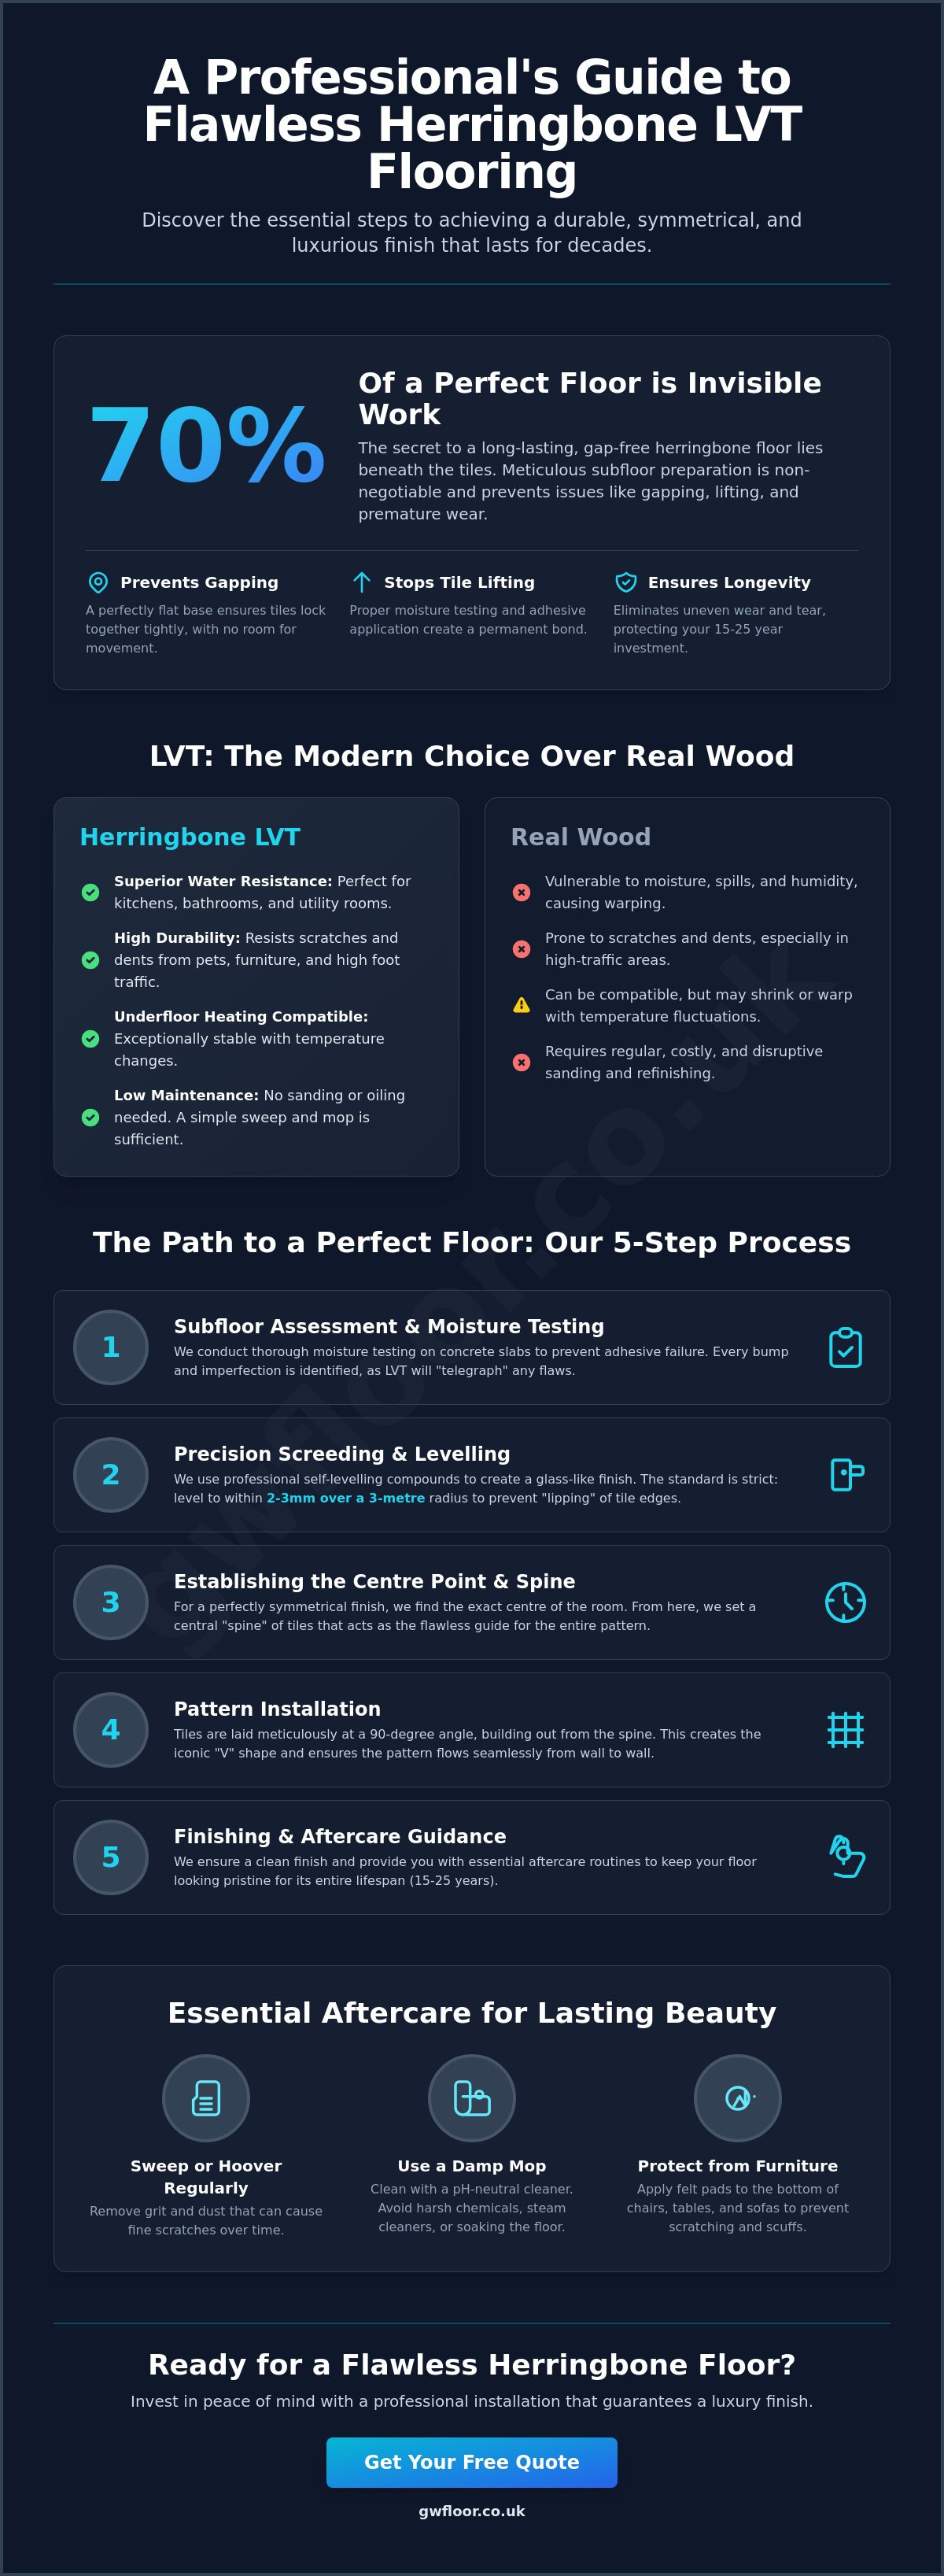
We'll explain why 70% of a great floor is actually the invisible work happening beneath the tiles. From meeting British Standards like BS 8203 to navigating the latest 2026 waste disposal regulations, we'll show you how we transform your vision into a stunning reality. It's time to take the guesswork out of your renovation and focus on the long-term beauty and performance of your home.
Key Takeaways
- Learn why herringbone LVT is the superior choice for Essex homes, offering a luxury aesthetic that outperforms real wood in high-moisture areas like kitchens and bathrooms.
- Understand the vital importance of "invisible work," where we ensure your subfloor is perfectly level to within 2-3mm to prevent any future gapping or lifting.
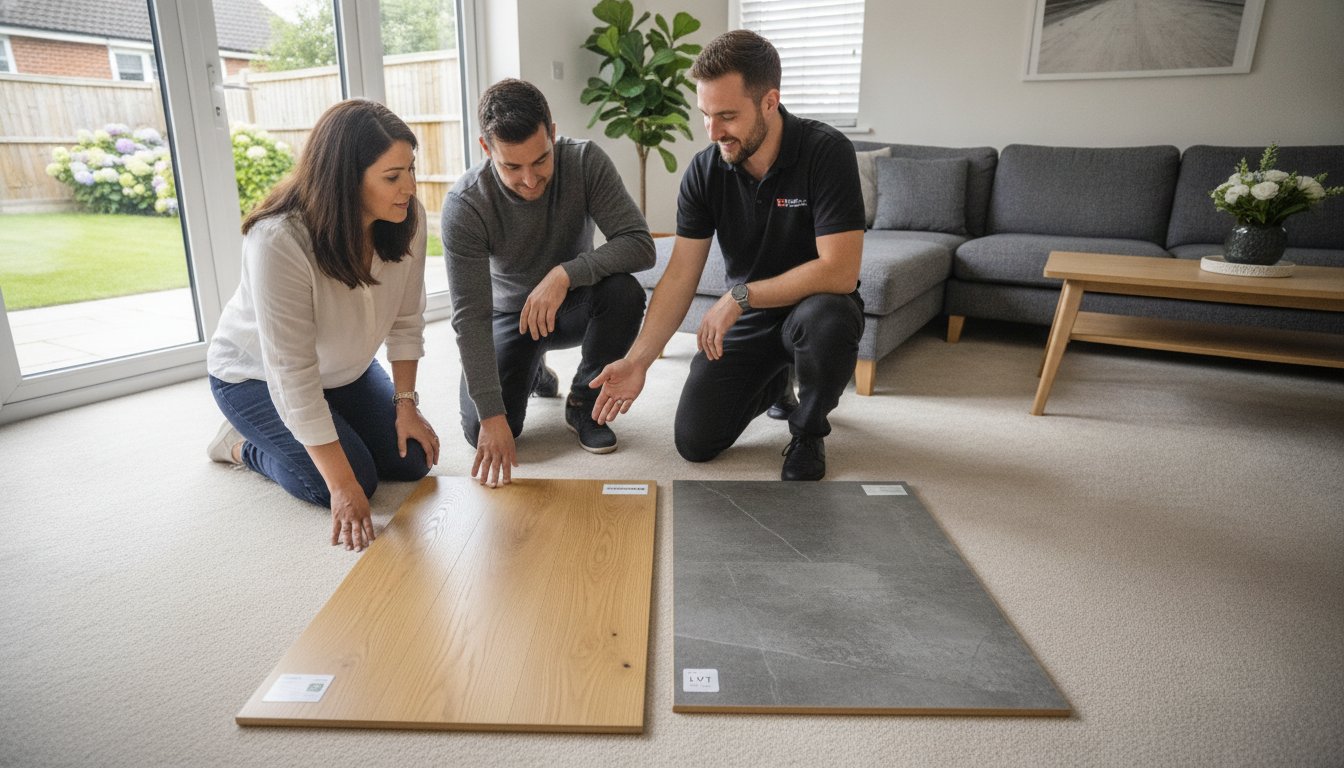
- Compare premium brands like Amtico and Karndean to find the perfect style and decide whether a room-framing border or wall-to-wall layout best suits your vision.
- Discover the precision involved in a professional herringbone LVT installation Essex, from establishing the centre point to setting the "spine" for a perfectly symmetrical finish.
- Master the essential aftercare routines and cleaning techniques that preserve your floor's durability and keep the surface looking pristine for years to come.
Why Herringbone LVT is the Premium Choice for Essex Homes
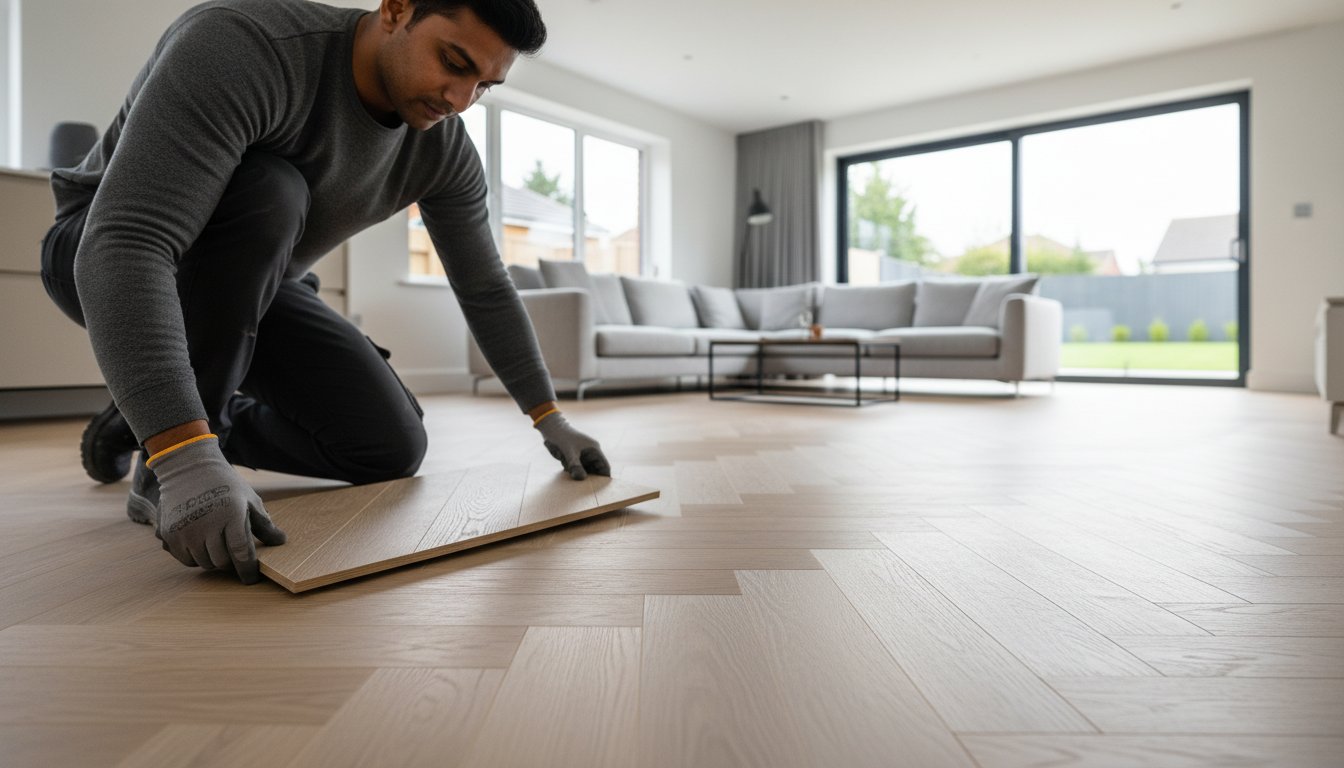
Choosing a floor isn't just about covering a surface; it's about setting the character of your home. In our experience, nothing quite matches the immediate impact of a herringbone LVT installation Essex homeowners often choose to add a touch of timeless sophistication to their properties. Whether you live in a period cottage in Rayleigh or a sleek, modern apartment in Chelmsford, this geometric pattern provides a high-end look that bridges the gap between classic charm and contemporary style.
Many of our clients are surprised by how well Luxury Vinyl Tiles perform alongside modern technology. Unlike many natural materials that can warp or shrink with temperature changes, LVT is exceptionally stable. It's fully compatible with underfloor heating systems, which have become a staple in new Essex developments. This combination ensures your home feels as warm and welcoming as it looks, providing a "wow factor" that can significantly increase the appeal of your property during a renovation.
The Versatility of the Herringbone Pattern
The beauty of herringbone lies in its geometry. By laying tiles at a 90-degree angle, we can create a sense of movement that leads the eye through a space. This is particularly effective in narrow hallways where the "V" shape makes the area feel wider and more open. We often help clients choose between traditional small blocks for a heritage feel or oversized planks for a bold, modern statement. In south-facing rooms, the way light catches the texture of the tiles can change the mood of the space throughout the day, highlighting the realistic embossing of the material.
LVT vs. Real Wood: The Practicality Argument
Whilst real timber has its merits, it often struggles with the demands of a busy Essex family home. LVT offers a level of water resistance that natural wood simply cannot match, making it our top recommendation for kitchens and bathrooms. You won't need to worry about spills or humidity causing permanent damage. For pet owners, the durability is a game-changer. High-quality LVT is designed to resist scratches and dents from claws and heavy furniture. Maintaining the finish is straightforward too; instead of the sanding and oiling required for timber, a simple sweep and damp mop are all you need to keep your floor looking pristine. We focus on providing products that offer:
- Superior moisture resistance for wet zones like utility rooms and en-suites.
- Hard-wearing wear layers, such as 0.55mm or 0.7mm, for high-traffic areas.
- Realistic textures and matte finishes that mimic natural oak, walnut, and pine.
By choosing LVT over solid wood, you're investing in a floor that handles the friction of daily life whilst retaining its luxury appearance for 15 to 25 years. It's a sensible, stylish choice for any homeowner who values both form and function.
The "Invisible Work": Essential Subfloor Preparation
You might have picked the perfect Amtico or Karndean tile, but the secret to a flawless result lies hidden beneath the surface. For a successful herringbone LVT installation Essex homes require meticulous subfloor preparation. LVT is what we call a "telegraphic" material. This means that every minor imperfection, tiny bump, or grain of grit in the subfloor will eventually show through the vinyl surface. If the foundation isn't perfect, the finished floor won't be either.
Geometric patterns like herringbone are particularly sensitive to uneven ground. We ensure the subfloor is level to within 2-3mm over a 3-metre radius. If the floor is uneven, the points of the herringbone "V" won't align perfectly. This leads to "lipping", where tile edges sit slightly higher than their neighbours. It doesn't just look poor; it causes premature wear as feet catch on the raised edges over time. Before we even think about adhesive, we also conduct thorough moisture testing. Excess dampness in a concrete slab can cause the adhesive to fail, leading to lifting tiles months down the line. It's a non-negotiable step in our professional process.
Screeding and Levelling Techniques
For concrete bases, we use self-levelling compounds to achieve a glass-like finish. Depending on the project timeline, we choose between standard screeds or rapid-set options that allow us to lay the floor much sooner. We always take the time to identify and repair structural cracks in the concrete base first. This prevents them from reflecting through your new floor later. If you're unsure about the state of your current base, our team can provide a professional subfloor preparation assessment to identify exactly what's needed for your space.
Plyboarding for a Solid Foundation
Timber joist floors present a different set of challenges. We create a rigid, smooth canvas by installing flooring-grade plywood, specifically SP101. This is superior to standard DIY ply because it's engineered to be free from core gaps and overlapping veneers that cause bumps. We are disciplined about countersinking every single screw to prevent "popping" as the house naturally moves. Finally, we use a feather-finish compound on all joints and screw heads. This creates a completely seamless transition between boards, ensuring the adhesive bonds perfectly across the entire room.
This "invisible work" is what separates a professional fit from a DIY attempt. It takes time and discipline, but it's the only way to guarantee a floor that remains beautiful and stable for its entire 25-year lifespan.
Designing Your Layout: Patterns, Borders, and Brands
Choosing the right materials and layout is where your creative vision starts to take shape. For a truly bespoke herringbone LVT installation Essex homes often require a balance between aesthetic flair and practical longevity. We don't just lay tiles; we act as your creative partners to ensure the pattern complements your room's dimensions and lighting. Whether you're looking for the sophisticated greige tones popular in modern Rayleigh flats or the warm, honey oak finishes that suit rural Essex barn conversions, the design possibilities are virtually endless.
We often guide our clients through the Amtico vs Karndean comparison to find the perfect fit for their specific needs. Whilst both brands offer stunning realism and durability, they each have unique strengths that can influence your final decision. We also use feature strips, sometimes called grouting strips, to define the herringbone geometry. These thin strips sit between the tiles to mimic the look of a traditional grout line or to add a bold, contrasting outline that makes the pattern pop.
Premium Brands: Amtico and Karndean
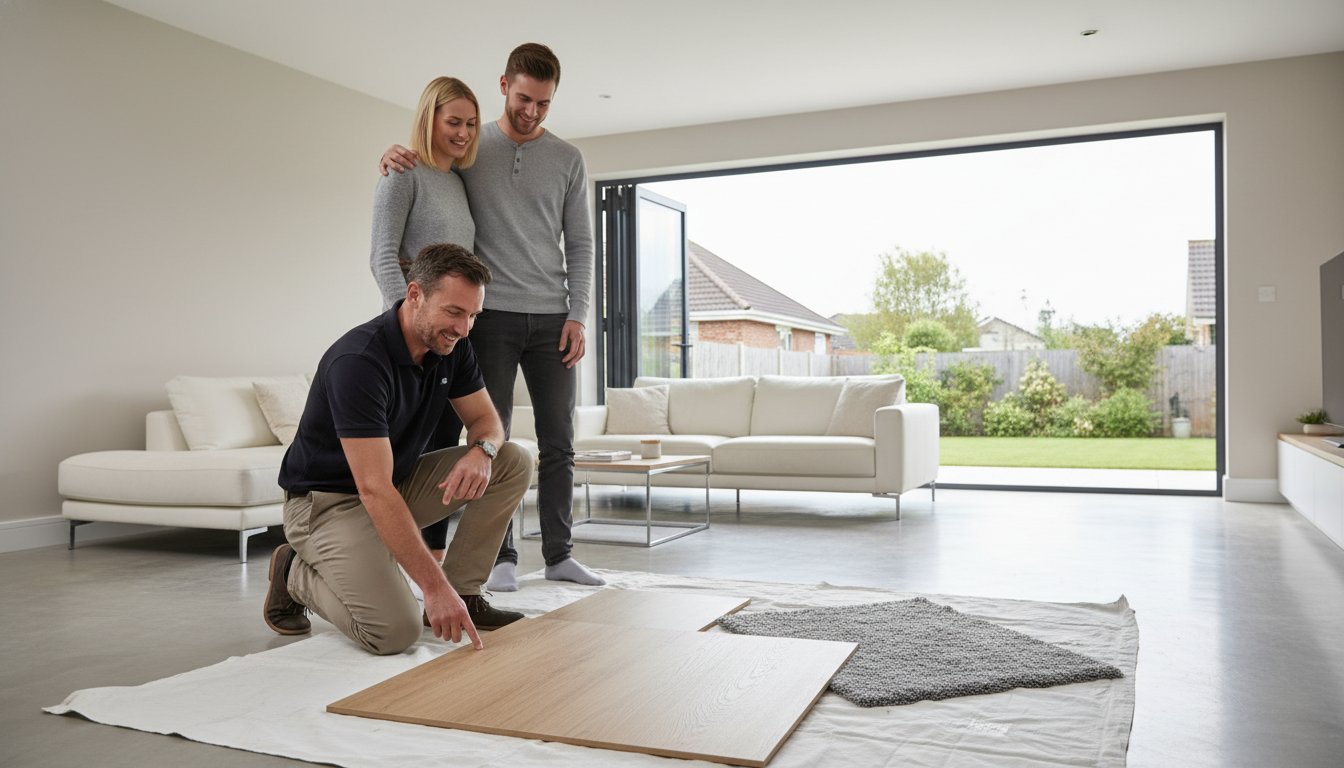
Amtico Signature remains the gold standard for those wanting a completely bespoke floor. It offers a vast array of plank sizes and textures, allowing us to create intricate designs that are unique to your home. Karndean Art Select is renowned for its incredible durability and realistic embossing, making it a favourite for high-traffic residential areas and commercial spaces. Because lighting changes everything, our "showroom to you" service allows you to view these premium samples in the actual environment where they'll be installed, helping you choose with confidence.
The Impact of Borders and Inlays
A border can completely transform the feel of a room. You might choose a clean "wall-to-wall" install for a sleek, modern look, or opt to frame the room with a single or double plank border. This framing technique creates a traditional parquet aesthetic that adds a sense of structure to the space. Achieving perfect mitred corners in these borders is the hallmark of a professional floor fitter; it requires precision cutting that DIY attempts often struggle to replicate. In open-plan homes, we can even use "tramlines" to subtly separate different zones, such as a dining area from a lounge, without the need for physical barriers.
Step-by-Step: The Professional Herringbone LVT Installation
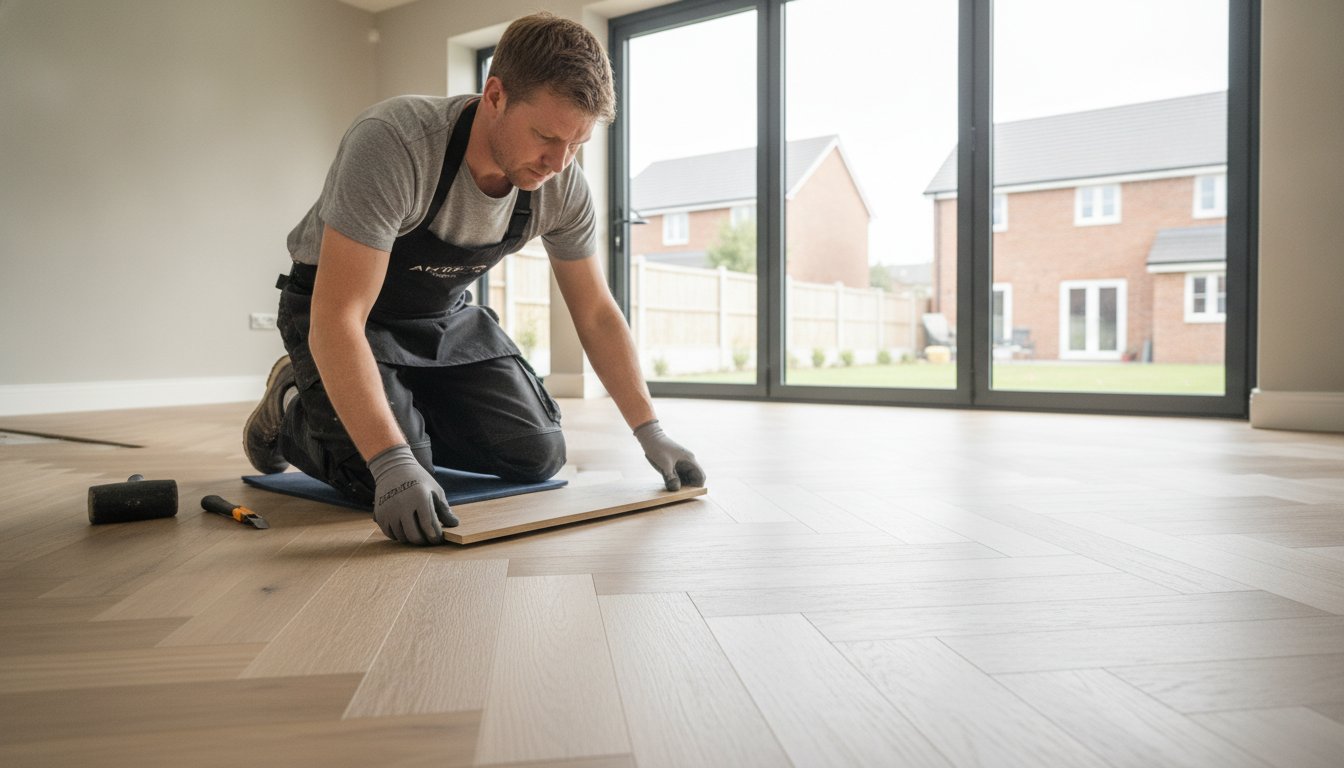
Installing a geometric pattern is a mathematical challenge that requires a disciplined approach. For a successful herringbone LVT installation Essex homes deserve, we always recommend the "dry back" or glue-down method. Whilst click-system LVT has its place, it often lacks the structural stability needed for intricate herringbone layouts. A glue-down floor ensures that every individual tile stays exactly where it was placed, even in high-traffic areas or rooms with fluctuating temperatures.
The process begins with a clean, dust-free environment. Any debris left on our carefully prepared subfloor could ruin the finish. We work methodically, ensuring that the transition from the "invisible work" of preparation to the visible craft of tiling is seamless. It's a process that rewards patience and punishes shortcuts.
Finding the Centre Line and Setting the Spine
Success is decided before the first tile touches the adhesive. We use laser levels to strike a perfect centre line through the length of the room. This line serves as the "spine" for the entire installation. If this initial row is even a millimetre out of alignment, the pattern will "drift" as it spreads across the floor. By the time it reaches the skirting boards, the wonky angles would be painfully obvious. We also perform a "dry lay" calculation to check the cut-offs at the perimeter. This ensures the floor looks symmetrical, with balanced tile widths at opposite walls rather than awkward slivers on one side.
Adhesive Application and Tiling
We use high-quality, pressure-sensitive adhesives that are specifically designed for luxury vinyl. These adhesives have a specific "working time," so we apply them in manageable sections to ensure the bond is always at its strongest. As we lay each tile, we focus on the junctions. The points of the herringbone "V" must meet perfectly without any overlapping or gapping. We are careful to clean away any microscopic traces of excess adhesive as we go, protecting the factory-finish wear layer of your tiles. If you want to ensure your project is handled with this level of care, you can book a professional installation consultation with our expert team.
The final stage involves precision scribing and cutting around door frames and architraves. We don't rely on thick beads of sealant to hide gaps; we aim for a tight, professional fit. Once the tiles are in place, we use a heavy floor roller, weighing between 45kg and 68kg, across the entire surface. This essential step ensures 100% adhesive transfer, effectively locking the tiles to the subfloor and guaranteeing the longevity of the pattern.
Aftercare and Your Local Essex Flooring Specialist
Once the final roll is complete, your herringbone LVT installation Essex project enters its most critical phase: the curing period. We advise waiting at least 24 hours before moving heavy furniture back into the room. This allows the pressure-sensitive adhesive to fully bond with the subfloor without being displaced by heavy weight. Whilst it's tempting to start decorating immediately, giving the floor this brief breathing space ensures the pattern remains perfectly aligned for decades.
We often receive calls to rectify DIY attempts where the pattern has drifted or tiles have started to lift. Fixing a poorly installed herringbone floor is significantly more complex than doing it right the first time. If you've encountered issues with a self-install, or simply want to avoid the stress, you can read more about our professional LVT flooring installation in Rayleigh to see how we handle the technical challenges for you. We focus on getting the "spine" right from the start, so you never have to worry about a wonky finish.
Maintaining the Lustre of Your New Floor
Keeping your floor in showroom condition is surprisingly simple if you use the right tools. We recommend using a microfibre mop and a pH-neutral cleaner specifically designed for luxury vinyl. Avoid harsh bleach-based products or steam mops; excessive heat and aggressive chemicals can damage the wear layer and compromise the adhesive bond. To prevent micro-scratches from grit or furniture movement, place felt pads under the legs of chairs and tables. These small precautions ensure your floor retains its luxury finish well beyond its first 10 years of use.
The GW Flooring Difference in Rayleigh
We take immense pride in being a family-run business with 20 years of experience serving our local community. Our "showroom to you" service is designed to make your renovation as frictionless as possible; we bring a curated selection of Amtico and Karndean samples directly to your Essex doorstep. This allows you to see how different textures and colours look in your home's unique light. Our reputation is built on the meticulous foundational work we've discussed throughout this guide. We never take shortcuts on subfloor preparation because we believe every homeowner deserves a floor that is as durable as it is beautiful.
We offer transparent communication and a disciplined approach to every project, ensuring you feel secure and proud of the final result. If you're ready to transform your living space with a flawless geometric design, get a free quote for your herringbone LVT project today and let us help you realise your vision for a luxury home.
Transform Your Home with Professional Craftsmanship
A flawless floor is the result of meticulous planning and disciplined execution. We've explored how the "invisible work" of subfloor preparation provides the essential foundation for a herringbone LVT installation Essex homeowners can be proud of. By combining premium materials from Amtico and Karndean with our seasoned expertise, you're not just buying a floor; you're investing in a piece of craftsmanship that will handle the friction of daily life for decades.
As a family-run business with over 20 years of local experience, we prioritise the technical groundwork that others might overlook. We don't just lay tiles; we act as your creative partners to ensure every border is crisp and every spine is perfectly aligned. Our specialists are here to guide you through every design choice, from the initial layout to the final aftercare routines that preserve your floor's lustre.
Ready to see these stunning textures and patterns in your own living space? Book your free "Showroom to You" home visit in Essex today. Let's work together to bring your vision of a perfect, luxury floor to life.
Frequently Asked Questions
Is herringbone LVT harder to install than straight-lay vinyl?
Yes, herringbone patterns are significantly more complex and demanding than standard straight-lay floors. They require a disciplined mathematical approach to establish a perfect "spine" from the centre of the room. If this initial row is even slightly misaligned, the entire pattern will drift, leading to asymmetrical edges and visible gaps at the perimeter.
How long does a typical herringbone LVT installation take in an Essex home?
A professional herringbone LVT installation Essex project for a standard 20-square-metre room usually takes between one and two days. This timeframe includes the essential subfloor preparation, such as applying a self-levelling screed or installing plyboarding, which must be completely dry before the tiles are bonded to the surface.
Can I install herringbone LVT over my existing floor tiles?
We don't recommend laying LVT directly over old ceramic or stone tiles. Existing grout lines and slight height differences will eventually "telegraph" through the vinyl, creating unsightly ridges on your new floor. To ensure a flawless finish, we either remove the old flooring or apply a high-quality smoothing compound to create a glass-like foundation.
Why is screeding so important for herringbone patterns?
Screeding is vital because geometric patterns are unforgiving of even minor lumps or dips in the subfloor. For the points of the herringbone "V" to meet perfectly, the surface must be level to within 2-3mm. Without this preparation, you risk "lipping," where the edges of the tiles sit at different heights and catch on footwear or cleaning tools.
How much extra material (wastage) should I order for a herringbone pattern?
You should allow for 10-15% wastage when ordering materials for a herringbone layout. This is higher than the standard 5-10% required for straight-lay floors because the 90-degree angles result in more offcuts. Having this extra material ensures we can maintain a perfectly symmetrical pattern across the entire room width.
Is herringbone LVT suitable for bathrooms and kitchens?
Absolutely, LVT is the favourite choice for these high-moisture zones because it is 100% waterproof. Unlike natural timber, it won't warp or swell when exposed to humidity or occasional spills. It allows you to enjoy the classic aesthetic of a parquet wood floor with the practical, hard-wearing benefits of modern vinyl.
Do I need to remove my skirting boards before the installation?
Removing your skirting boards is the "gold standard" for a professional finish. It allows us to hide the necessary expansion gap directly under the boards for a clean, seamless look. Whilst we can use scotia or beading to cover the gap if the skirtings stay in place, most homeowners prefer the neater aesthetic of a skirtings-off approach.
What is the best brand of LVT for a herringbone pattern?
We specialise in Amtico and Karndean, as they are the industry leaders for patterned floors. Amtico Signature offers incredible flexibility for bespoke designs and feature strips, whilst Karndean Art Select is renowned for its realistic textures and durability. Both brands provide the stable, high-quality tiles needed for a lasting herringbone finish.